Best Practices for Large Projects in Revit
Some of the following tips are taken from many sites and forums. Some tips
are evolved from our experience. Your project / results may vary.
- Use better hardware with 4 GB RAM (Windows 32 bit max)
- Use the 3 GB switch in 32 bit Windows

- Use 64 bit windows if possible.
- Use 64 bit Revit, (not yet available)
- Giga bit network helps.
- Cleaner / faster hard drive helps. Defragment drives.
- If possible split project into two or more (like shell and fitout, etc.) smaller projects and link them.
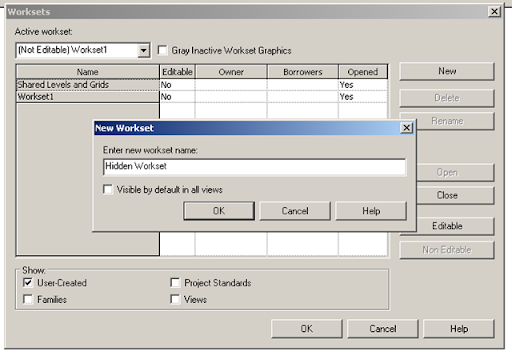
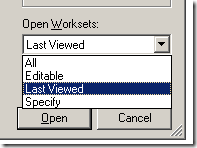
- Use worksets to organize your project (furniture workset, etc.) You have options to
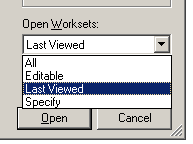
- Partially open worksets;
- On / Off worksets - project wide;
- On / Off worksets - by individual views;
- Make a Workset not visible by default
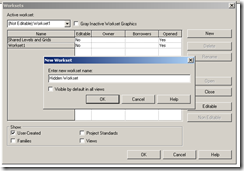
- Lock a workset
- Minimize CAD imports - both for backgrounds and details. Try to link them as much as possible rather than importing.
- Go to Tools menu > Review warnings periodically
- Customize Project Browser.
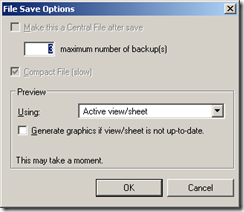
- Compact the model once a week for large projects
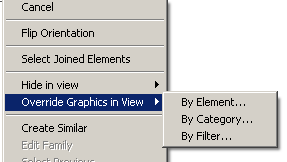
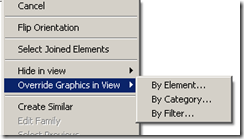
- Use ‘Override Graphics’ sparingly - try use VG instead
- Use view templates. RVT 2009 has very good options added to this.
- Don’t Over Constrain elements. In fact, in a large project, don't constrain the model at all. Restrict constrain uses only to Families.
- Don’t Over model (don’t put in 100 unnecessary 3D toilets or try to model the toilet paper holder in 3D). There are some revit families available in websites are notorious...there is one keyboard family floating around with all the keys modelled, etc....
- Don't use too many model lines or detail lines. Check if a well built family will work better in these circumstances.
- Finalize and remove Design Options if possible
- Check your view depth. A hidden line view with all the 7 floors showing below, will make the view really slow to pan, zoom, refresh.
- Frequently Window menu > 'close hidden windows’ often. It is best to create a shortcut in the file: "C:\Program Files\Revit Architecture 2009\Program\KeyboardShortcuts.txt" for this command.
- Use groups sparingly. Don’t use Groups comprised of walls at various levels and in different circumstances. (wall joins, etc.)
- Make components instead of groups or in-place families. If an in-place family is to be duplicated, it is better created as a regular family.
- Purge unused elements. (File menu > Purge unused...)
- Reduce fill patterns, line styles - exploding DWG files create enormous amounts of line types, text styles, fill patterns, etc.
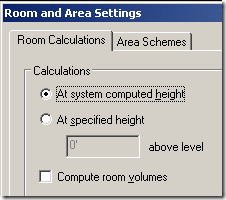
- Uncheck “compute room volume” option in Settings menu > Room and Area
Settings...
- Create local files every morning. This reduces the time to 'reload latest' after opening a Local file every morning. However, "copying a central file and renaming it to create a new local file" is not recommended by Autodesk. Copying of databases can create errors.
- Turn off shadows / shading in views.
- Delete unused 3D views from sheet / views
- Audit once a week - if the project spits errors once in a while.
- Clean linked DWG files: layers / blocks / etc - before bringing into Revit; objects not too far from ORIGIN;
- Don’t run more applications than are critical (itunes, winamp!)
- Use Worksharing monitor for Revit (available for subscription customers only)
- Use batch printing utility to print (available for subscription customers only)
- Update the Video Card Driver - there are lots of time, a view drag is attributed to the video card driver.
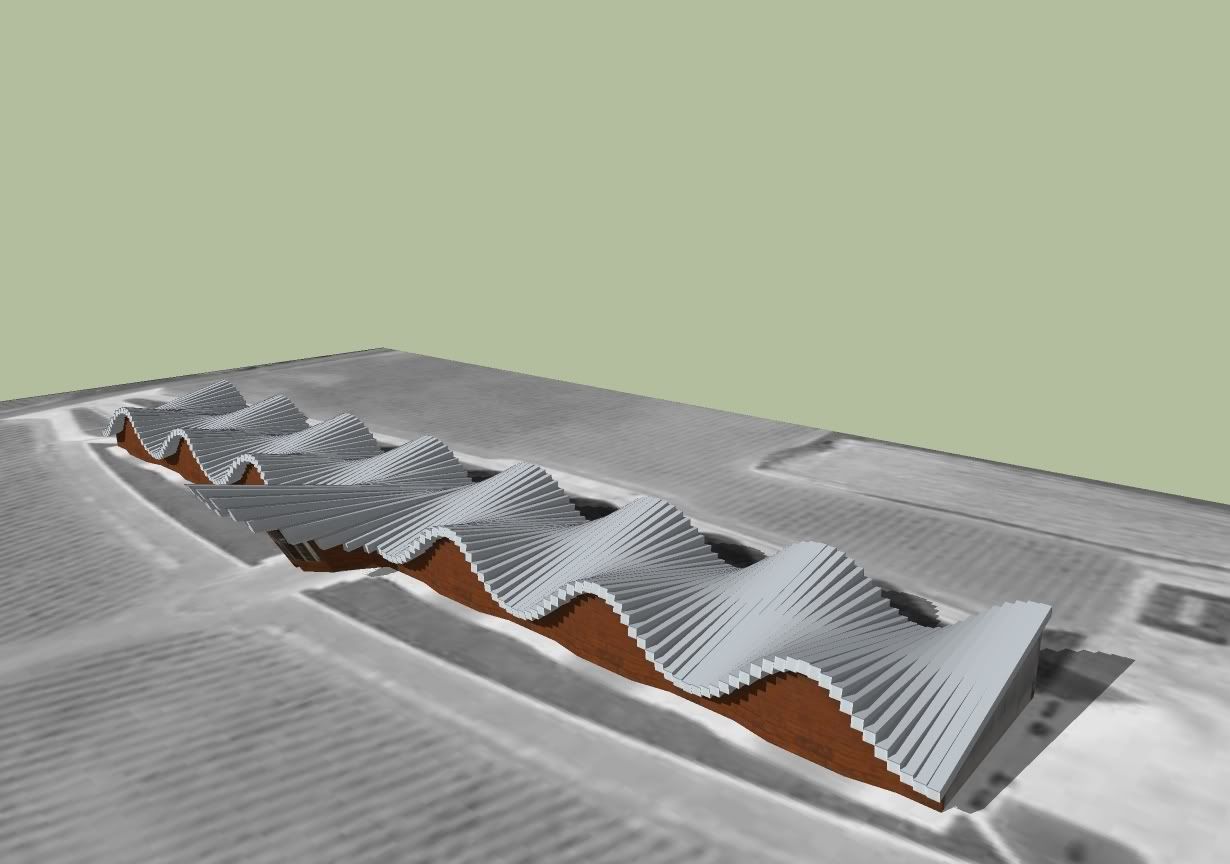
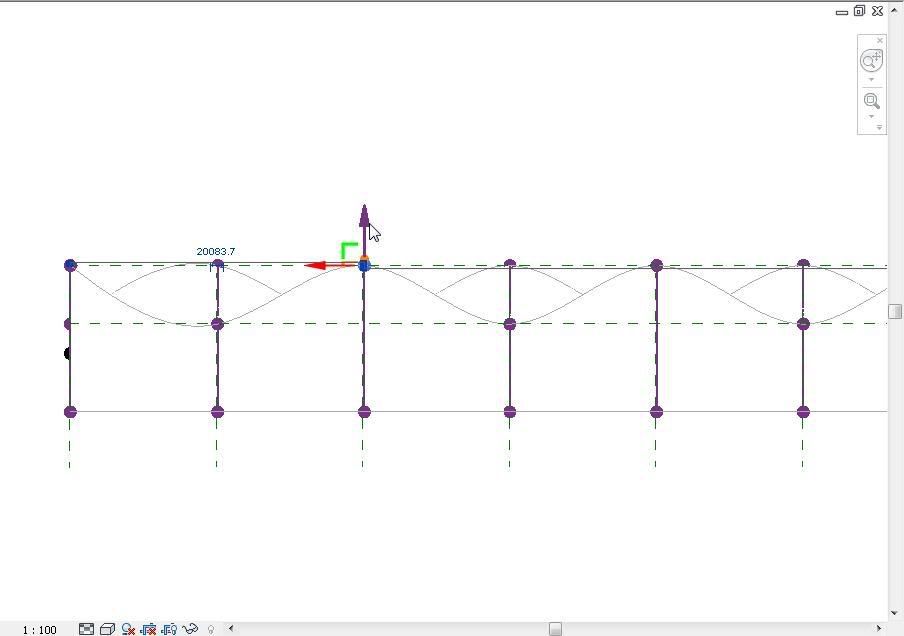
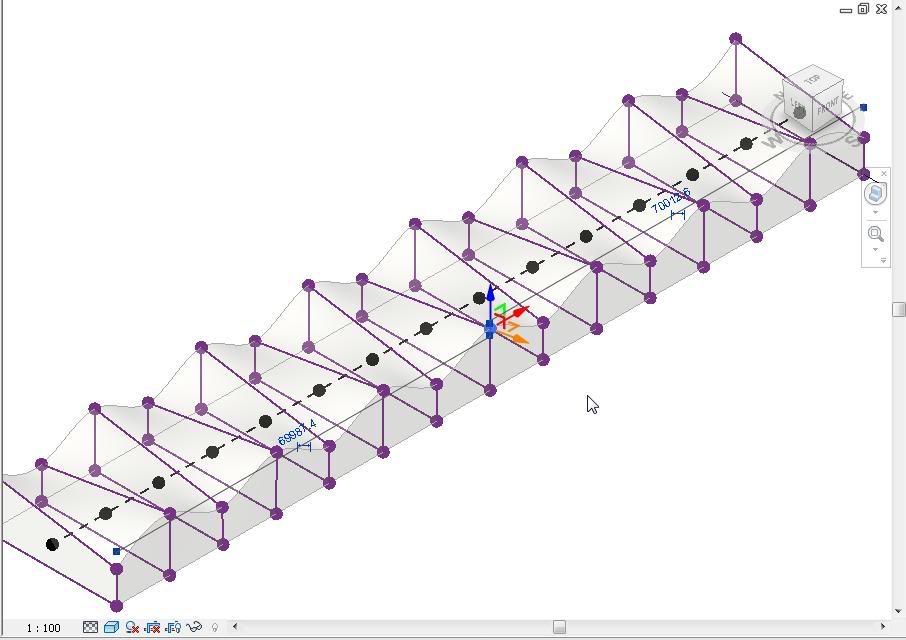
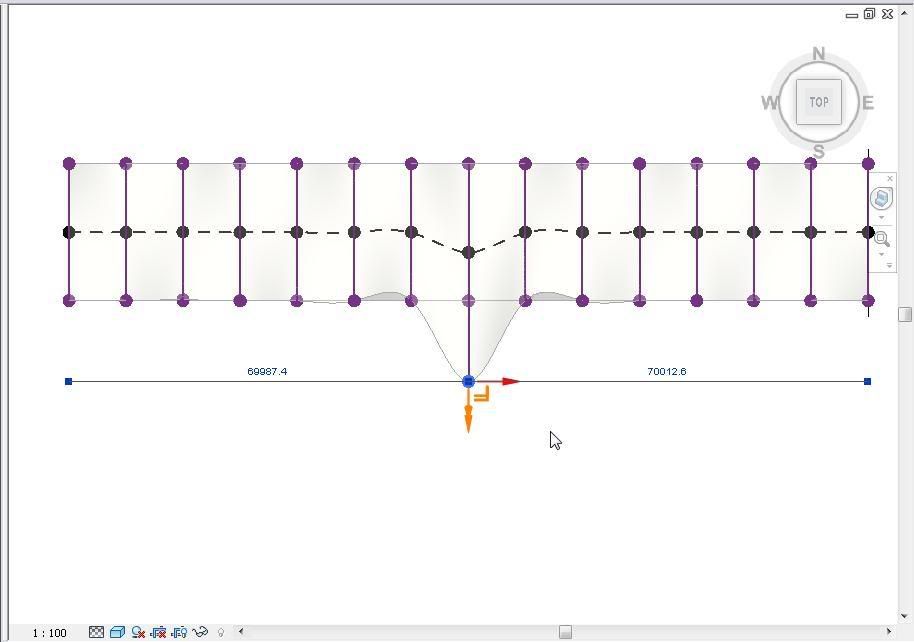
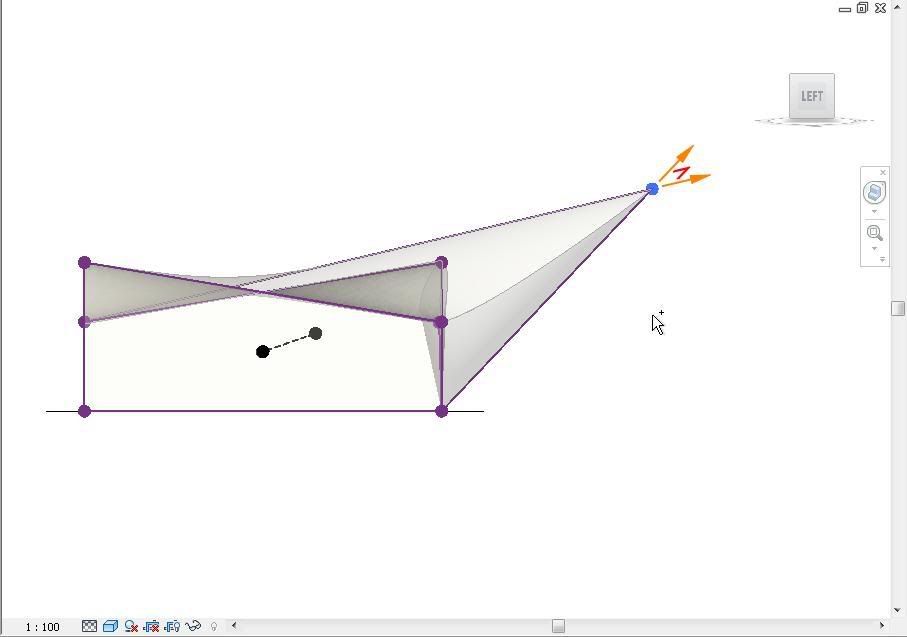
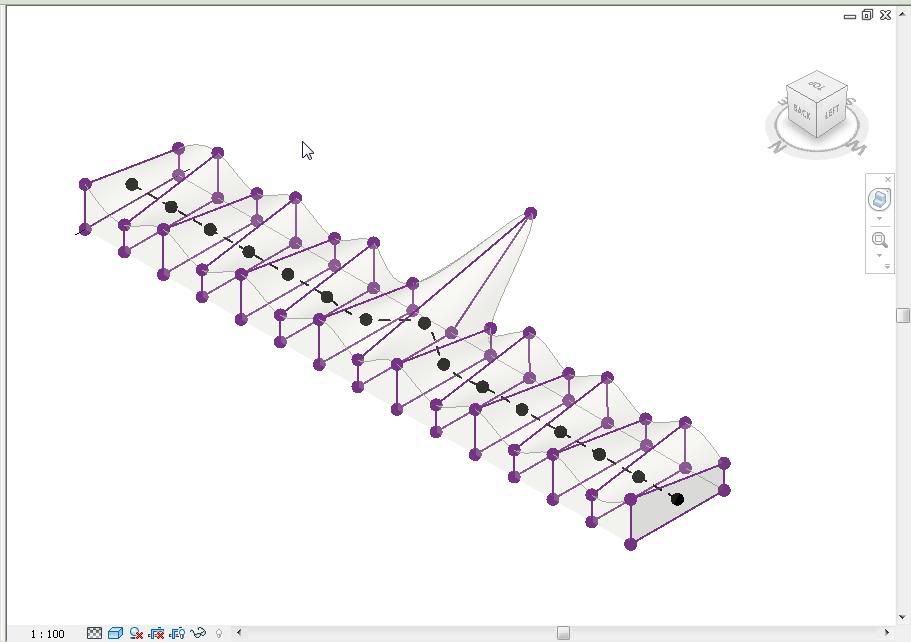
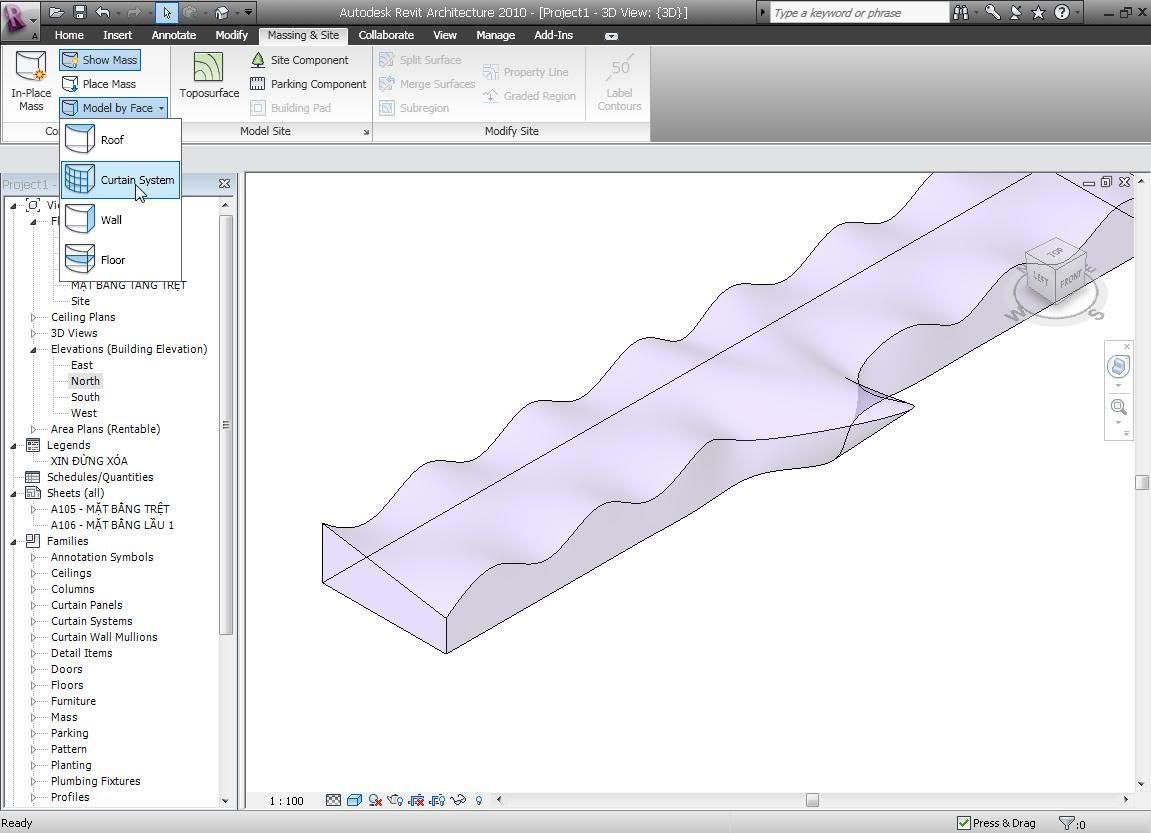
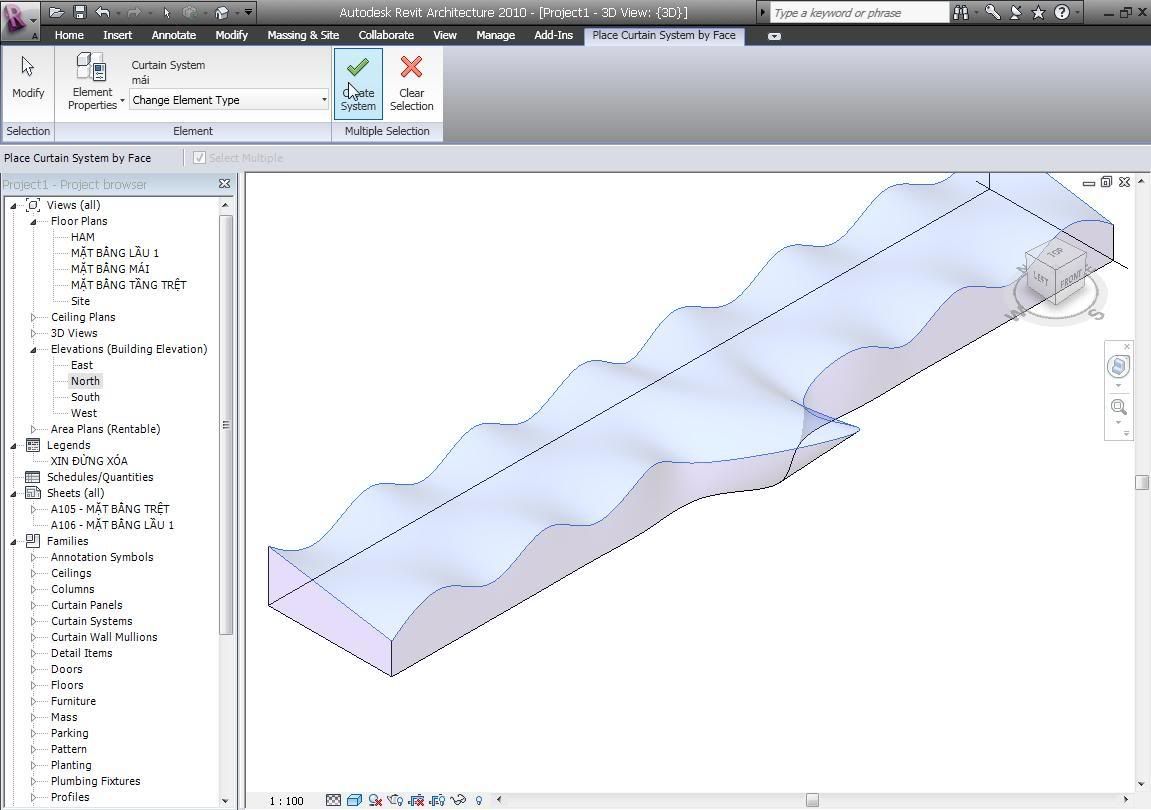
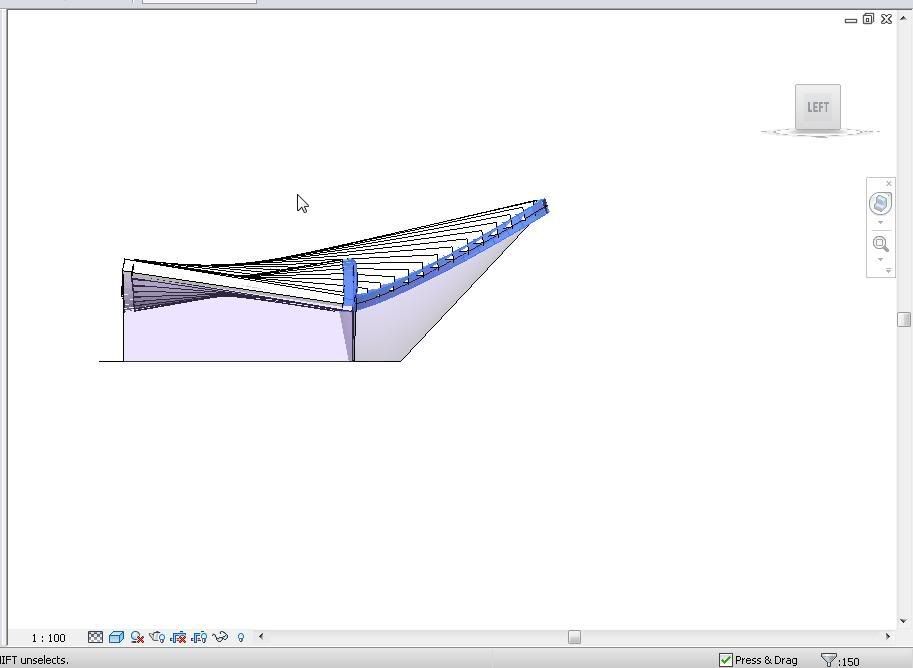
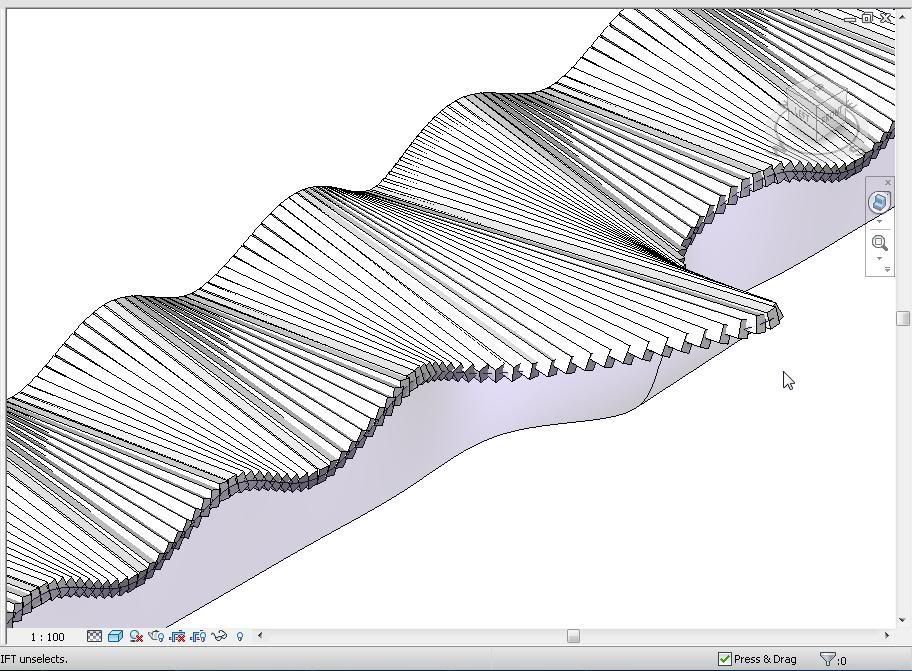
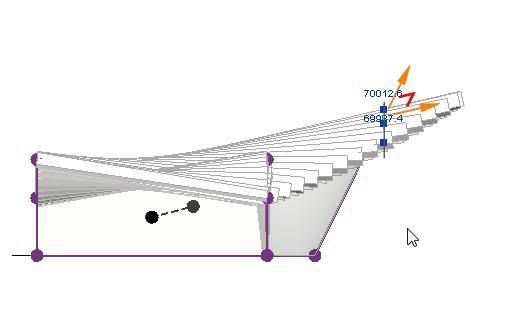
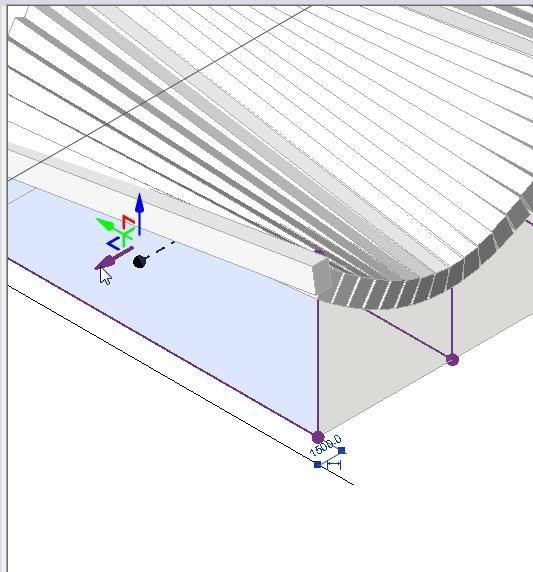
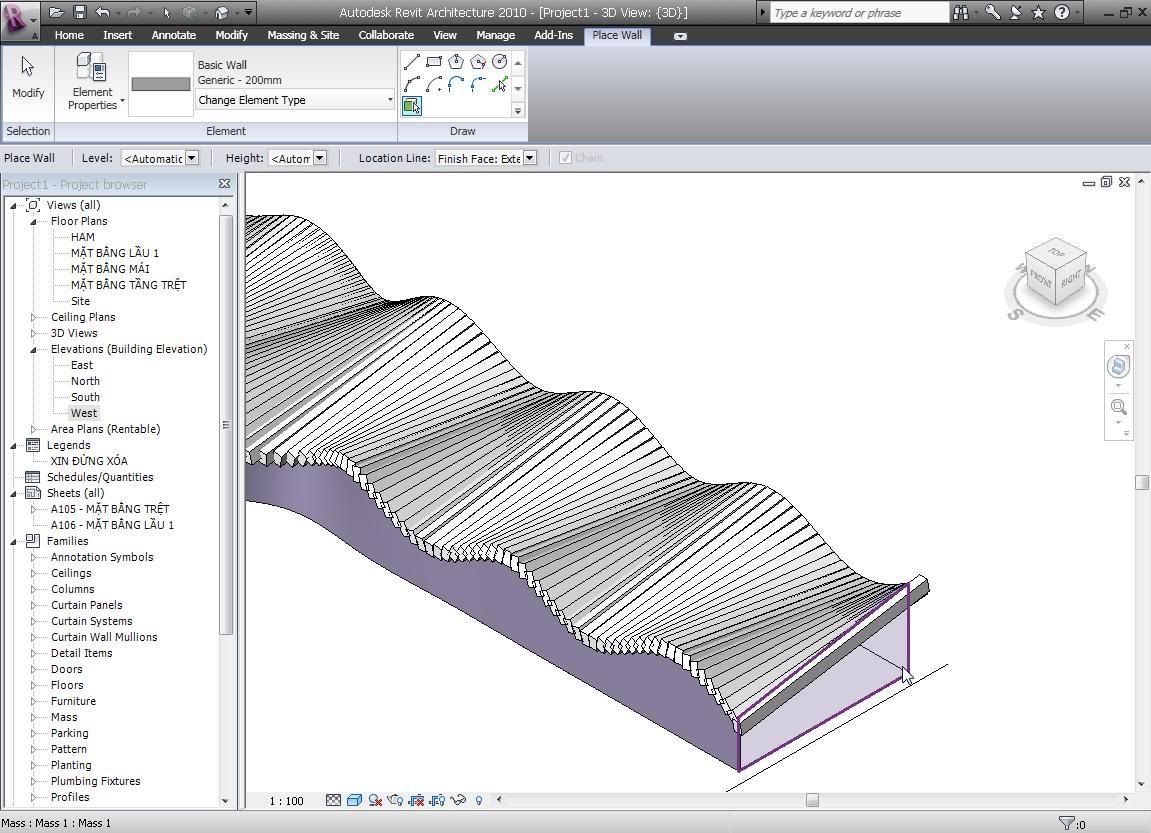
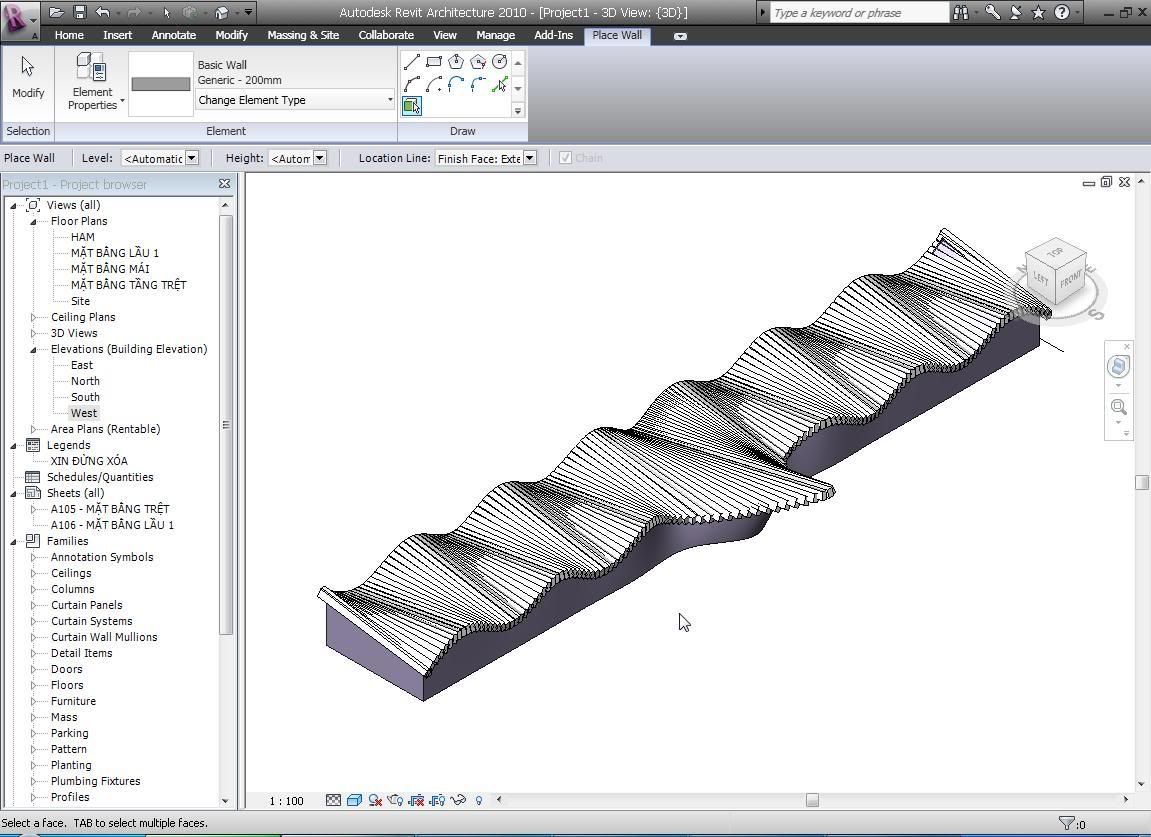
- Use of the warped slab tool kills performance and make your project a drag.
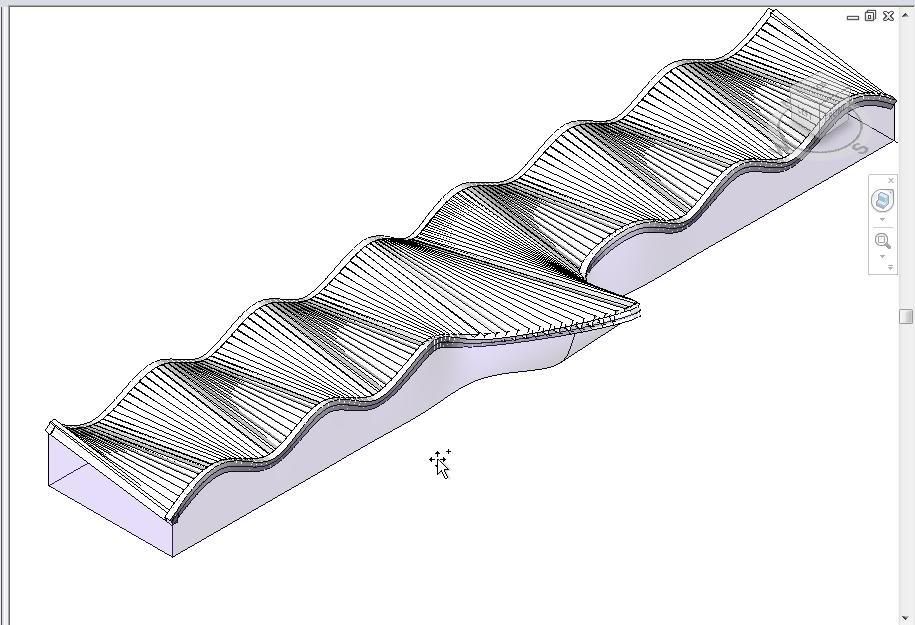
- Cylindrical / circular elements need more memory to render / refresh.